3D Object:
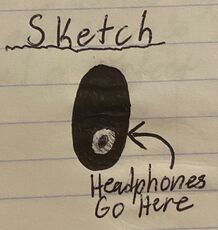
Initial sketch in designer notebook.
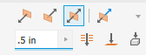
I started by making a large ellipse using the tools above (selecting the down arrow on the circle option click on ellipse). Then I extruded it to .5 outwards making it 3D.
|
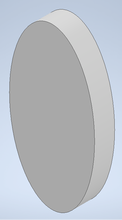
Large ellipse
|
Extruding
|
Extrusion
|


|
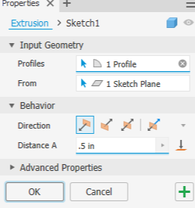
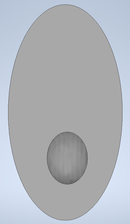
Than using the ellipse tool again I added an ellipse to the lower half of the larger ellipse. I extruded it to the double arrow option meaning it was a cut out and didn't extrude outward or go all the way through the object.
|

|
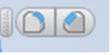
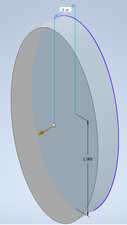
Then using the tools above I rounded both the larger and smaller ellipse. For the larger one I used the tool on the left and for the smaller one I used the tool on the right. Giving me my final design.
|
The process of creating the headphone holder
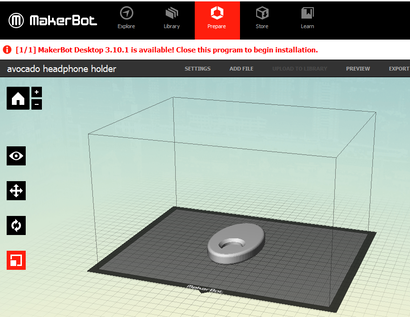
Than I exported the design to MakerBot and scaled it to 1000.00%.
|
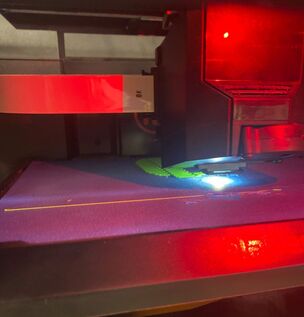
Then placing my flash drive in the 3D printer I began to print.
|
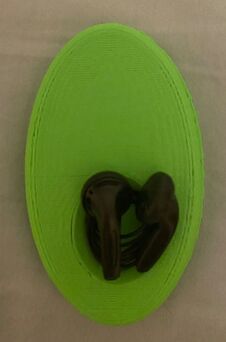
Finished 3D object in use.
Final Thoughts:
The 3D print project was a very easy project to mess up with little room for error. Most projects took a significant amount of time (mine took about an hour and a half). So not only was this time consuming to mess up and have to redo but also expensive. 3D print materials can be expensive when used in as large of amounts as these projects are. I myself messed up printing but luckily mine printed too small and took only about 5 minutes and wasted very little material. My advice to any one doing this project is triple check. My problem was with scaling. I had forgotten to scale and was remined to but it was after the file was exported. Exporting "finalizes" the object in a way so make sure everything is perfect before you export to your flash drive.
